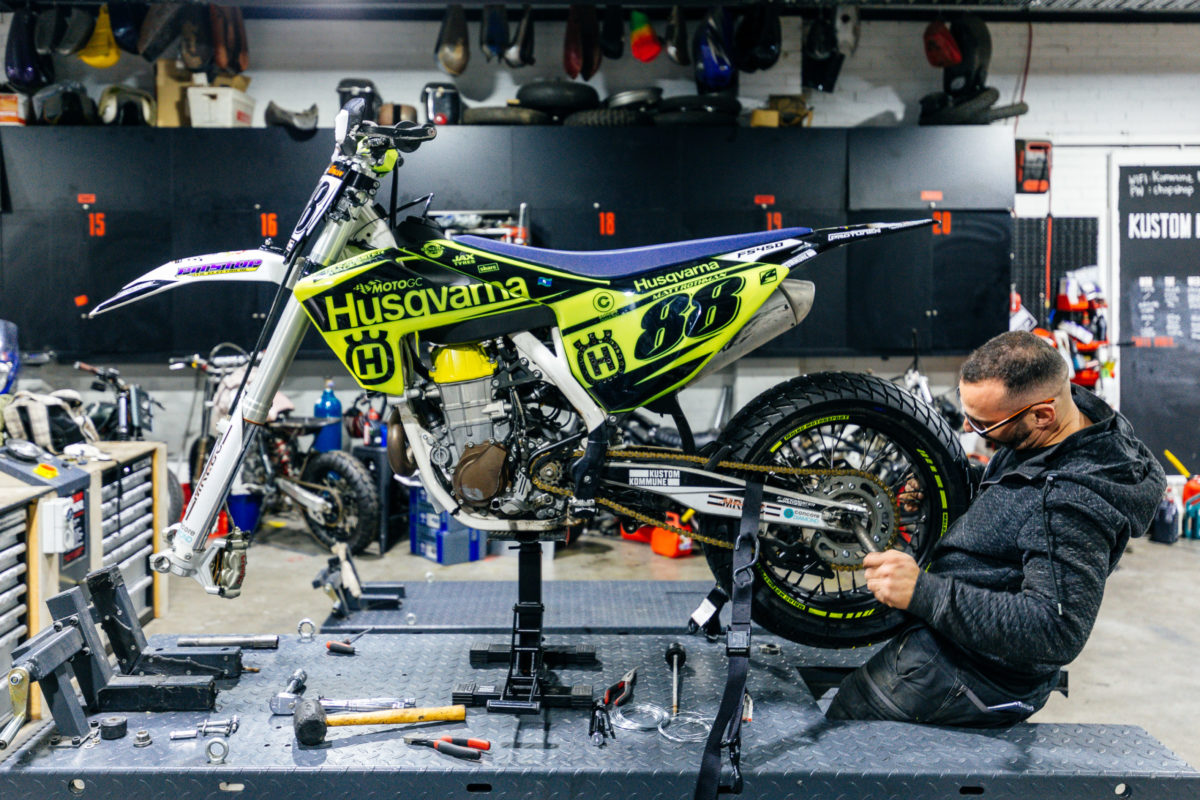
Storing your motorbike: five steps to make sure your bike’s ready to ride when you are
Owning a motorbike and not being able to ride it is bad news. Having your motorbike fail you when it’s time to ride again is another level of disappointment. So, while our motorcycling wings are temporarily clipped, you’re going to want to do five things to ensure your bike’s ready when you are.

STEP ONE: CHANGE THOSE FLUIDS
Having dirty old oil and brake fluid in your bike while it lays idle isn’t going to do it any favours. Engine oil picks up carbon, condensation and contaminants as it does its job and letting it sit in your bike while it waits patiently to be ridden again can cause internal corrosion and other issues. Likewise, old brake fluid picks up moisture over time that will play havoc with your braking system, particularly in newer bikes with ABS. So if you can, do an engine oil and filter, and brake fluid change to avoid issues when it’s time to ride.
You can get oil, filters and brake fluid from the Kommune, with parts orders still happening.
While parts orders are still happening, access to the Kommune isn’t possible at the moment, so you’re going to need some basic tools and something to drain the oil/brake fluid into and store it. If you don’t have access to these, or you’re not comfortable doing this work solo, don’t stress. Skip ahead to the other steps — doing what you can is better than doing nothing!
Step two: Brim your tank with as much fuel as possible.
A properly full tank will slow evaporation down and stop corrosion from forming inside the tank. If your bike is carbied, run the bike with the fuel tap turned off until the engine dies. This will run the carbs dry and stop your float-bowls from ending up with old fuel sitting in them, evaporating and leaving behind crud that will block your jets when it’s time to ride.
If you’re feeling really pessimistic about how long you and your bike will be off the road, add some fuel stabiliser to the tank. A fuel stabiliser slows down the evaporation process and can mean your tank lasts for up to 12-months. Hopefully, you won’t need this step…
Technical warning!: Modern fuel is like wine — once you take it out of the bottle, it starts going bad. Fuel is a mixture of carbon and hydrogen (that makes hydrocarbons) and hundreds of other chemicals that give us our octane number. The hydrocarbons in fuel are one of the main things that give it the energy it needs to explode and make our engines run. The longer we leave fuel sitting, the more hydrocarbons evaporate. This leaves behind a liquid that doesn’t resemble what we put in at the petrol station. As a wise woman once said, “It won’t happen overnight, but it will happen”.

Step three: Pump those tyres up.
Leaving a bike resting on its tyres for too long can cause flat-spots. This is more likely to happen when pressures are low and as tyres are slightly porous, they’ll lose pressure over time. To combat this, add an extra 10psi or so in while your bike is off the road. You can also roll the bike to different spots on the tyres if you’re really searching for activities…
Alternatively, store your bike on its centre-stand, or race stands. This will take some or all of the load off the tyres and while they’ll still lose pressure over time, you won’t get flat spots. Just don’t forget to check your pressures before you ride the bike again.

Step four: Disconnect your battery.
There are few things worse than getting set to go for a ride, pressing that start button and hearing nothing but silence. Avoid the heartache and disconnect your battery. If you’re being really cautious, take your battery inside and out of the cold. Cold weather can reduce a battery’s performance, rendering a battery that was fine in summer, useless.
If you have a battery tender/charger you can skip this step and connect it to the battery. Just be sure that it’s the type of charger that only kicks in when it’s needed and turns itself off when it’s not.


Step five: Wash it, cover it and wait.
Mission complete — your bike’s ready to do nothing, but do it well. To make sure your bike looks as good as it did before its forced break, give it a really thorough wash. If you have chrome or other metal surfaces, spraying some WD40 on a rag and giving them a wipe-over will stop any corrosion (just make sure you don’t get any on your brakes). Whether your bike is inside or out, it doesn’t hurt to cover it up to avoid undoing all your hard work. If you are using a cover, make sure your bike is cool and dry before you put it on.
All in, these steps will probably take you a few solid hours and at worst $100 or so. Pretty cheap insurance to ensure your bike is ready when you are! If you have any questions about how to do this, remember the Kustom Kommune DIY Moto Community Facebook group is always there with people willing to lend a hand or provide advice.
What are your tips for storing your bike for long periods of time? Let us know in the comments.


